
At Happy Hour, I create tutorials for quick projects - things you can usually do in an hour or less - and my motto is, use what you have.
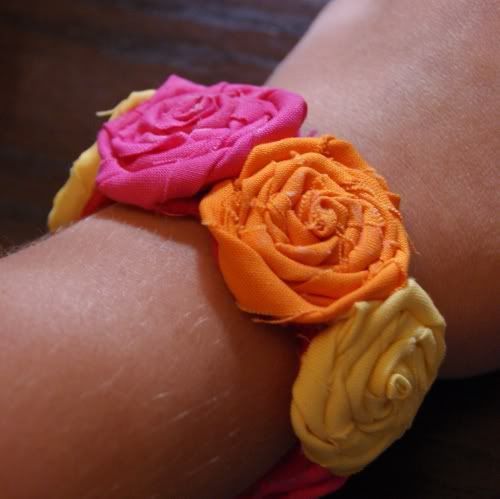
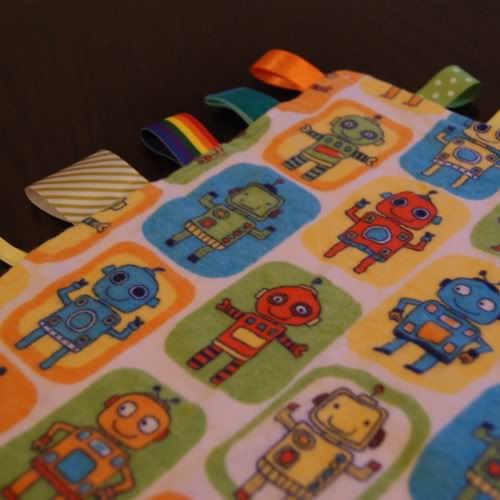
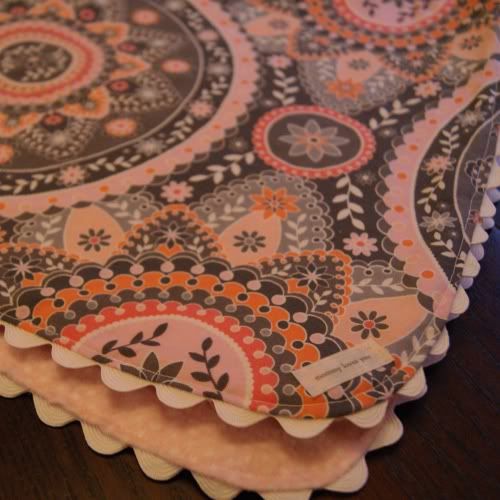
Most of my projects are made from things we all have in our craft rooms, or I suggest substitutions that might work. In fact - these are a few of my favorite projects. (Click an image to visit Happy Hour Projects for the post if you'd like to know more!)


I also host a link party every Friday and I would love to see you at Freestyle Friday over at Happy Hour to link up!
But enough about me - you're here for some creative juices, right? Well I am going to give you the tutorial on a nice quick project of mine that was quite popular and appropriately fall-themed:
The No-Sew Fabric Pumpkin

Time: 20 minutes
Supplies:
- 18" square of pumpkin-appropriate material. I used a rusty orange twill. This makes a smallish pumpkin, it's around 6" in diameter, so scale up as you like.
- 1 lb. beans. Or some stuffing of your choice. I wanted something heavy enough for it not to be toppling over. (Plus I'm out of polyfil... but I had a bag of beans. And if you recall, we always try to use what we have!)
- Scraps of felt for leaves and coordinating yarn/string/twine.
- Scissors.
- Plastic wrap.
- Rubber bands.
- Hot glue gun.


Use a rubberband (or if you don't have any on-hand, a piece of yarn would probably work fine too) to gather up a small point in the center of your square. This is the center underside. By creating pleats/ruffles here, your whole pumpkin will have more pleats instead of being smooth on the lower half. But test it out both ways of you want and see which look you prefer.

Put your bag-o-beans in with the rubberband side on the inside and draw the sides up, arranging your pleats as you like.

See? Pleaty.

Close with a rubber band. Once again, not essential, but having the rubbery surface will help things grip better.

Cut off your top to whatever stump-size you like the looks of. This can be a bit difficult with all the layers, but just kind of fan it out, and keep sawing away. :) I closed off with a second rubber band to keep it nice and gathered. I tied a bit of yarn around the bottom so I could begin attaching my felt leaves.

Cut some leaves to the shape you like, leaving a nice long tail so they can be wrapped into your stump for security, and over the top of the stump where yarn-wrapping isn't really practical. I am using brown yarn, so I made the brown leaf tail long and fattish, because I want it to wrap all the way over the top of the stump with fabric to spare. Doing this will ensure I don't have ends poking out at the top later.

Tie them on how you like them so that everything is fairly secure. See how the brown leaf tail will cover over the stump?

I used my hot glue gun to glue the brown felt around the stump. You can probably accomplish the task without hot glue (or any glue, for that matter) and just do a really snug wrap, but securing it now should make wrapping much easier without having to hold those edges down.

Then, I tied a bit of yarn underneath the leaves, and began wrapping the long end around the stump, wrapping upward.

Honestly, I don't know how much yarn I ended up using, since I unraveled it right from the package-thingy (what's yarn called? A spool? I have no idea.) but I would estimate it was a good 6 feet or so? When I got to the top of the stump, I wrapped it back downward, until I got back to the bottom, where I tied the yarn off with that loose end from the beginning. I trimmed the ends.

And that's it! I had myself a finished pumpkin.

The possibilities to make this your own are endless - you could use a different texture like burlap or velour, or a bold, funky print. I think you'll find when you raid your craft-stash that you have a lot of options!
Thanks for having me, Bobbi, and all the best to you and your family!
~ Adrianne
No comments:
Post a Comment